Accidents happen in an instant. One second you’re scrolling through your phone while sitting by the sink or your pool, and the next second your phone slips out of your hand and splashes into the water. A water-damaged phone can be one of the most common tech disasters that people face, and it can definitely cause anyone to panic. Whether it was a dropped phone in a bathtub or heavy rain where your phone got soaked on the table, water exposure can have serious effects on your phone’s internal components if not taken care of immediately.
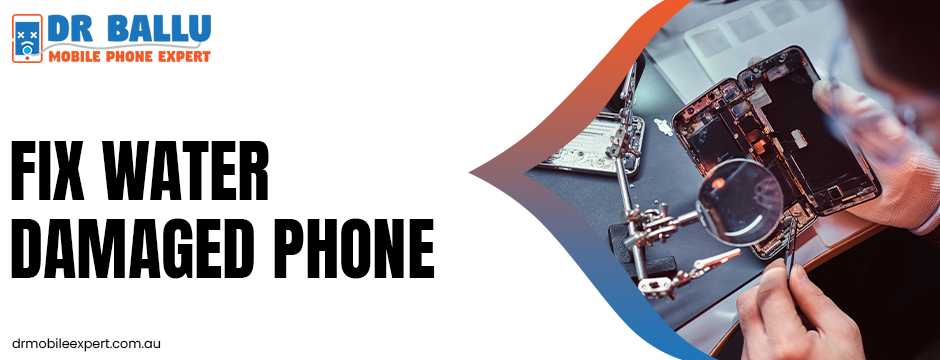
The good news is that, in many instances, you can fix water damaged phone as long as you act fast and know the best procedures. Knowing what to do (or not do) immediately after the water damage will make the difference in bringing your phone back to life and losing it completely. People tend to rush to find “quick fixes” or believe in myths, such as burying the phone in a bowl of rice, but proper care and seasoned professionals are definitely superior solutions.
Step 1: Make a Move
When it comes to damage caused by water, speed is of the essence. The longer your phone is wet, the more likely it is for the water to short or corrode any of the circuits inside the phone. As soon as your phone falls, or enters a body of water, get it out of the water immediately, and don’t spend time sitting back to “see if it still works.” Every second matters.
Step 2: Power it Off
Even if your phone seems to be functioning fine, you’ll still want to immediately power your phone off. We all know that water and electricity don’t play well together, and to avoid even the risk of short circuits that could potentially backfire with bad results, make sure you cut the power. If you can, also remove the battery (if your phone allows for a removable battery).
Step 3: Remove SIM Card and Accessories
If your phone allows for the removal of things like a SIM card, battery, or any accessories connected to it, like headphones, memory card, or chargers, go ahead and remove those as suggested by the mobile phone repair home service. All of these will likely be damaged, with any of them having potential for better lending to air circulation inside the phone while the drying process begins.
Step 4: Dry the Outside
Take a soft, lint-free cloth to wipe off the maximum amount water off the device on the outside. Concentrate on the charging port, headphone jack and buttons. Try not to shake the phone too aggressively, as this may cause water to penetrate deeper into the device.
Step 5: Do Not Use Heat
It may be tempting to use a hair dryer, oven, or microwave to dry your phone out—but seriously, do not do that—high heat will warp internal parts, cause the screen to distort, and could melt smaller, more delicate parts. Stay with safer drying methods.
Step 6: Use a Vacuum or Absorbent Packets
If you have access to one, use a small vacuum and vacuum any water from the ports and crannies. Also, silica gel packets (the ones you find in shoe boxes or packaging for electronic products) are far more efficient than rice at absorbing moisture. So, put it in a sealed container with silica gel packets for at least 24–48 hours.
Step 7: Do Not Be Taken in by the Rice Myth
A popular DIY remedy to fix water damaged phone is to place the phone inside a bag of rice. Most people don’t realise that while rice can absorb a small amount of surface moisture, it is not particularly good at extracting deeper moisture inside the device. Rice can leave residue inside the phone ports, and it does not dehumidify. Just use a silica gel or commercial-grade drying device instead!
Step 8: Do Not Be in a Rush to Power It Up
Don’t be too quick to “test” your device, just because it appears to be dry. Even if your phone looks fine from the outside, that doesn’t mean the internal components are dry! It is best to wait a minimum of 24–48 hours or more to attempt an initial power-up. If, for example, your phone had substantial exposure to water and the internals got wet, it may need longer to dry, regardless of how it looks externally.
Step 9: Try Wireless Charging
If the water affected your charging port and it is non-functional, and your phone supports wireless charging, you may want to try a wireless charger. This can often help “bypass” a corroded charging port. Visit professionals for optimum phone screen repair.
Step 10: Seek a Professional
When you have dried your phone, and it still does not function properly, or it appears to be functioning, but then fails later because of corrosion, a professional inspection is important. Professionals use tools such as ultrasonic cleaners and drying chambers to analyse and safely restore damaged water devices.
End Notes
Water damage can feel like the end of the world, but acting quickly and following the right steps can dramatically improve your phone’s chances of survival. Remember: don’t panic, power off immediately, avoid heat, and use proper drying methods like silica gel. While some phones can be revived at home, professional fix water damaged phone is often the best way to ensure long-term functionality and data protection.
If your phone has suffered water damage and you want expert help, Dr Ballu Mobile Expert is here to assist. With specialised repair techniques and years of experience, we can diagnose and restore your device more effectively than any DIY method. Don’t risk losing your data or your device—let our professionals handle it and bring your phone back to life.


